Before the engine could be permanently installed I needed to know where everything would sit. I could only do this with the adapter kit from Advanced Adapters 50-0224 (ordered from Poly Performance). I ordered the kit but as luck would have it someone had ordered the last one the day before. They said they had to make more, a process that they thought could take at least six weeks. When I called a few weeks later they said it would be pushed out to mid-may. I decided to screw some 2x4's to the transmission and front part of the transfer case to represent the length of the new tail housing based on the 50-0224 manual. With this setup my brother was able to rig up some temporary mounts with some scrap metal so that we could see roughly where the engine would sit. Oh and the engine mounts I am using are ANCHOR Part #
Wednesday, April 21, 2010
Sunday, April 18, 2010
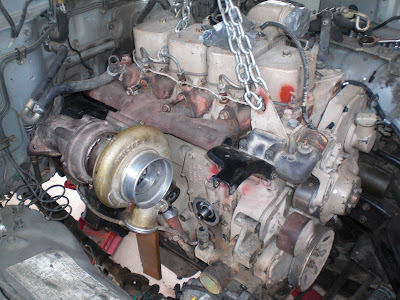
6BT AC Compressor, Starter and Exhaust Manifold
I got my 6BT AC compressor, starter and exhaust manifold off of ebay. The AC compressor needs to have the 6BT AC bracket to fit on the 4BT. The starter doesn't need anything special and the 6BT exhaust manifold needs some work.
Obviously I need to cut the manifold down to fit the 4BT but I also need to grind the 4 exhaust holes a little. The 4BT has square ports and the 6BT has rounded ports so I am just going to grind a little bit out on the manifold to make it fit better. I still need to cut and weld the ends.
Obviously I need to cut the manifold down to fit the 4BT but I also need to grind the 4 exhaust holes a little. The 4BT has square ports and the 6BT has rounded ports so I am just going to grind a little bit out on the manifold to make it fit better. I still need to cut and weld the ends.
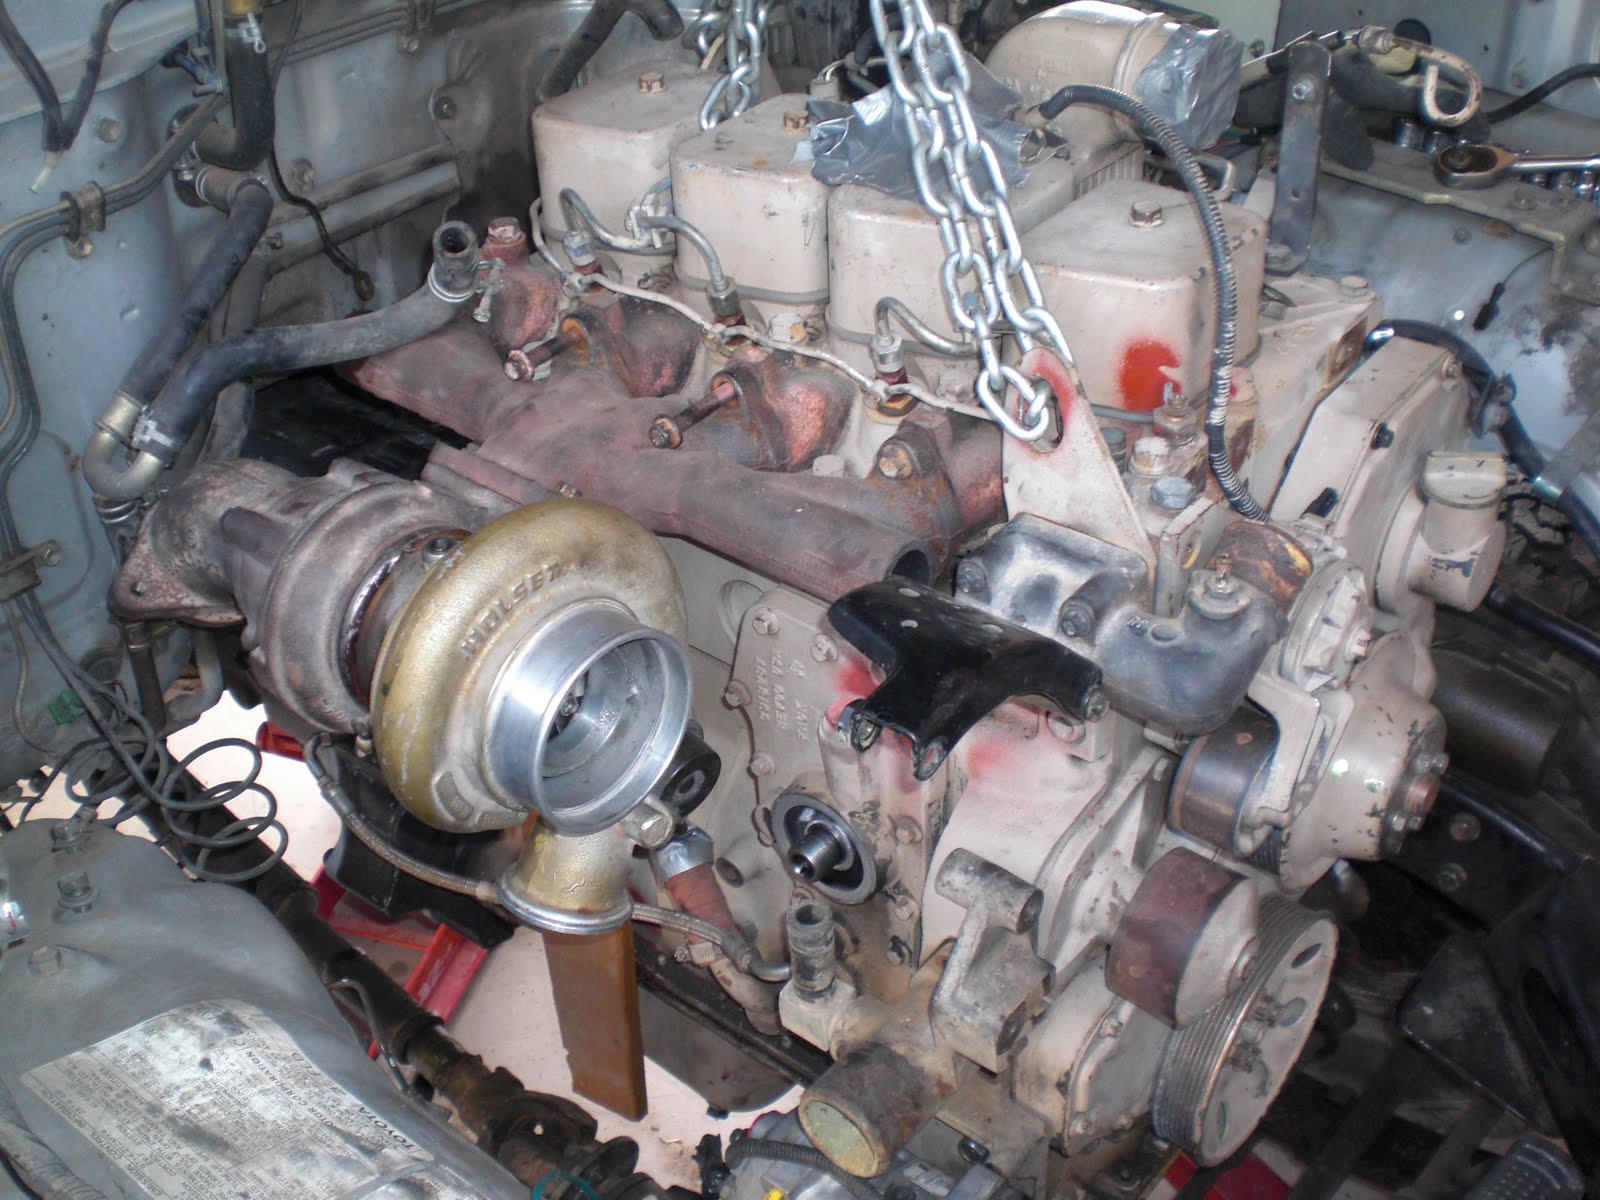
Here is the cut exhaust manifold and turbo on the engine in the car.
Lift Kit
All the websites that I found said that I needed to have about 6 inches of lift in order to comfortably fit the 4BT in the FJ60. After all of my research I decided to go with a body lift and suspension lift.


I am also getting the ARB bull bar from these guys. I used this company when I bought an OME lift for my pathfinder.
Body lifts for the FJ60 are way too expensive for what they are so I decided to make my own. I ordered aluminum rod because it was cheaper than the UHMW polyethylene that other people have used. My friend's brother has a metal lathe and a metal cutting bandsaw and he was willing to do the work for me. Took about two hours to make and three hours to install by myself.
Total price $91.70
$46.70 for 3 feet of 2" round rod aluminum
$25 for 12 Grade 8 Bolts-four 8", two 6.5" and six 7", washers and nuts
$20 for labor
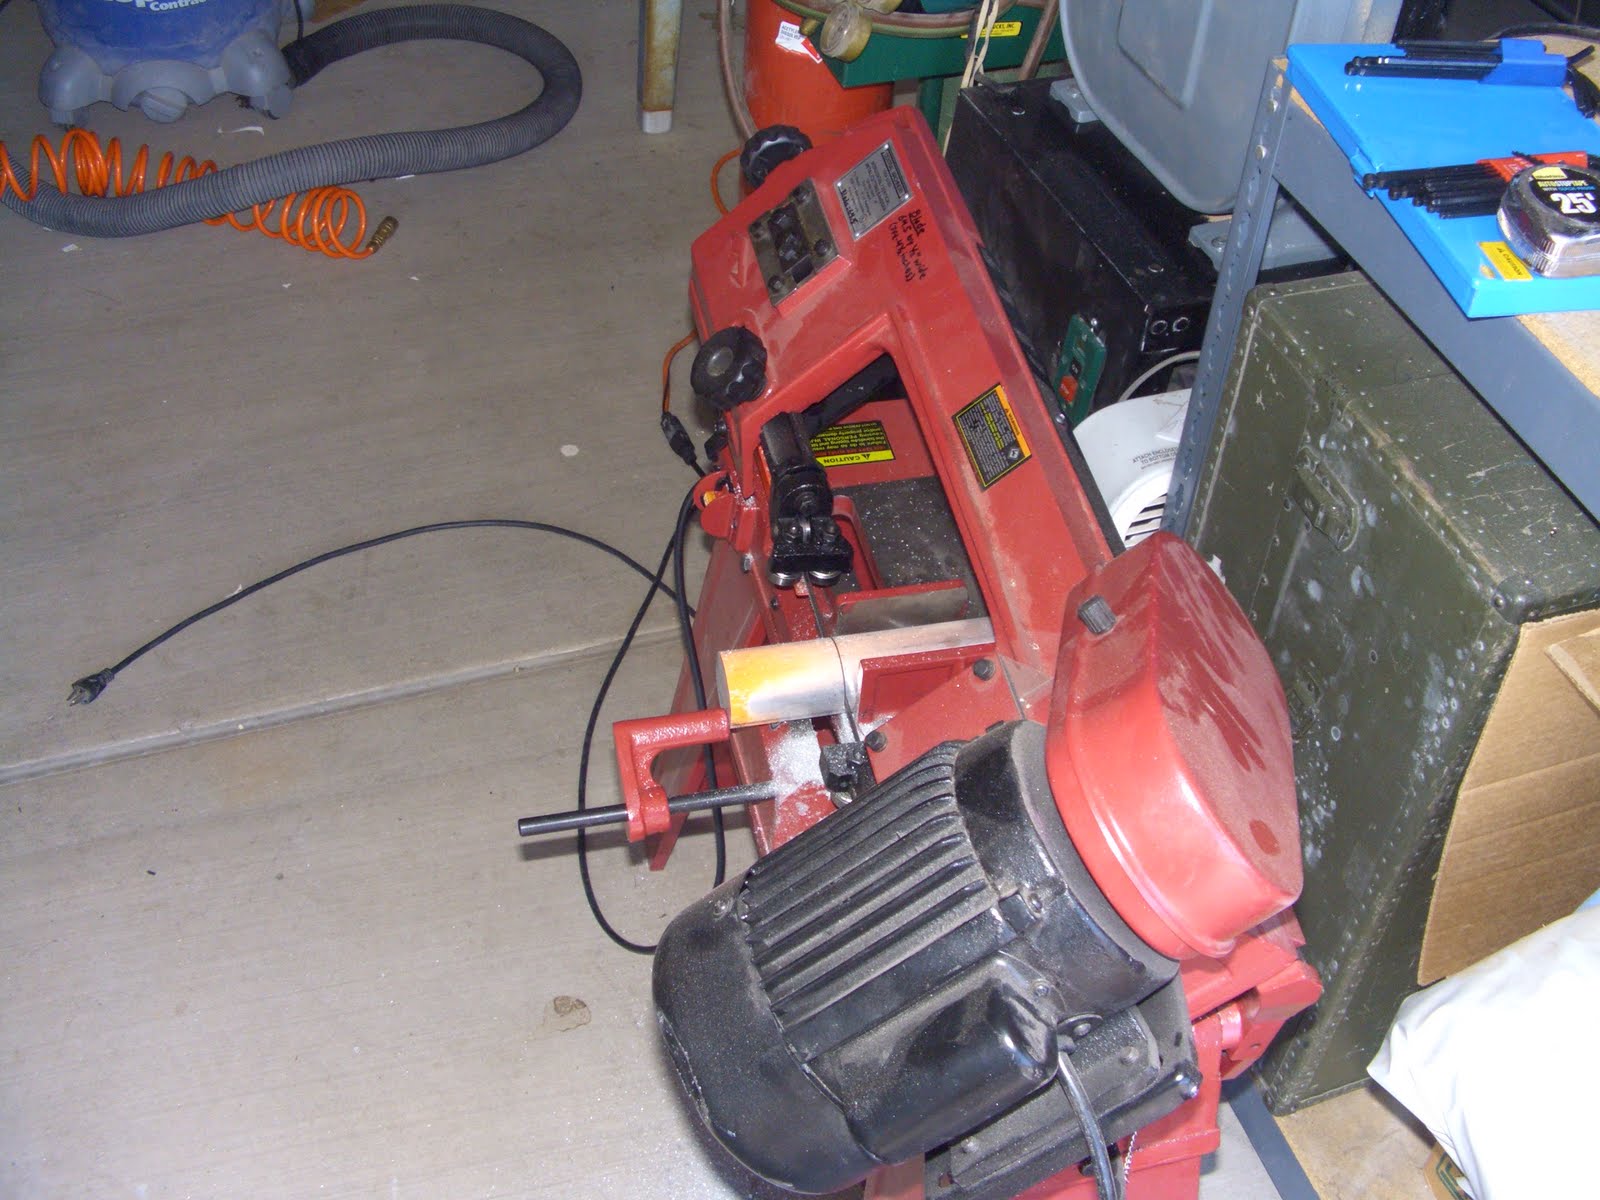
Bandsaw in action

Drilling the holes and facing the lift blocks on the lathe
The results of the lift

I know that this looks weird but I am planning on getting a bigger bumper anyway. I can live with this for a while.

The front lift block under the pedal area.

Side view

Other side with a view of the engine. It actually fits well even without the suspension lift. Maybe I'll save for a better suspension lift now.
If you are curious, I jacked the body up, off of the frame after disconnecting the brake lines, etc. I jacked one side up and put jack stands with wooden blocks under the body on the pinch rail. I moved to the other side and and jacked it up. Then I installed the lift blocks and lowered it back down. Easy stuff.
The suspension lift will come at a later date when more funds are available. Here is what I would like though.
I am also getting the ARB bull bar from these guys. I used this company when I bought an OME lift for my pathfinder.
Subscribe to:
Posts (Atom)